开始部署 CEPH 集群
 [图片来源 ceph.io]
作者:邢万里
文档说明
- 系统版本:CentOS-Stream-8-x86_64-20221125
- 内核版本:4.18.0-408
- podman 版本:4.2.0
- ceph 版本: Quincy
- 客户端配置:
- ceph-clienta
- CPU: 2vCPU
- Memory: 4GiB
- Storage: 10GiBx5
- ceph-clientb
- CPU: 2vCPU
- Memory: 4GiB
- ceph-clienta
- 集群节点配置:
- ceph-serverc、ceph-serverd和ceph-servere
- CPU: 2vCPU
- Memory: 4GiB
- Storage: 10GiBx5
- ceph-serverc、ceph-serverd和ceph-servere
查找合适的镜像
- 以 admin 身份登录 ceph-serverc, 使用 cephadm 验证当前的版本
$ sudo -i $ cephadm version Using ceph image with id 'cc65afd6173a' and tag 'v17' created on 2022-10-17 23:41:41 +0000 UTC quay.io/ceph/ceph@sha256:0560b16bec6e84345f29fb6693cd2430884e6efff16a95d5bdd0bb06d7661c45 ceph version 17.2.5 (98318ae89f1a893a6ded3a640405cdbb33e08757) quincy (stable) - 我们可以在 quay.io 和 docker.io获得 ceph 相关的可用镜像,但是 docker hub 上的镜像更新速度有可能比 quay.io 的慢,我们这里选择使用 quay.io 的镜像文件:
- 安装 jq 工具
$ dnf install jq - 查找镜像仓库中可用的镜像版本
$ curl -ddds -L https://quay.io/api/v1/repository/ceph/ceph/tag?page_size=100 | jq '."tags"[] .name' | grep '17.*'
"v17.2"
"v17"
"v17.2.5"
....ommit....
- 安装 jq 工具
准备进行部署
- 创建一个 JSON 文件保护敏感信息,例如为 auth.json
$ mdkir /root/ceph-cluster $ cd /root/ceph-cluster $ cat auth.json { "url":"quay.io", "username":"YOUR QUAY ACCOUNT", "password":"YOUR QUAY ACCOUNT PASSWORD" } - 运行 cephadm bootstrap 命令创建一个ceph集群
# man cephadm  | grep -A 29 'cephadm bootstrap'
$ cephadm bootstrap --cluster-network 172.16.90.0/24 \
--mon-ip 172.16.80.104 \
--initial-dashboard-password YOUR_PASSWORD \
--dashboard-password-noupdate \
--allow-fqdn-hostname \
--registry-json auth.json


Ceph Dashboard is now available at:

             URL: https://ceph-serverc.lab.example.net:8443/
            User: admin
        Password: YOUR_PASSWORD

Enabling client.admin keyring and conf on hosts with "admin" label
Saving cluster configuration to /var/lib/ceph/5851a2e4-80f0-11ed-9d85-000c291c7df8/config directory
Enabling autotune for osd_memory_target
You can access the Ceph CLI as following in case of multi-cluster or non-default config:

        sudo /usr/sbin/cephadm shell --fsid 5851a2e4-80f0-11ed-9d85-000c291c7df8 -c /etc/ceph/ceph.conf -k /etc/ceph/ceph.client.admin.keyring

Or, if you are only running a single cluster on this host:

        sudo /usr/sbin/cephadm shell

Please consider enabling telemetry to help improve Ceph:

        ceph telemetry on

For more information see:

        https://docs.ceph.com/docs/master/mgr/telemetry/

Bootstrap complete.
验证结果
- 验证集群状态
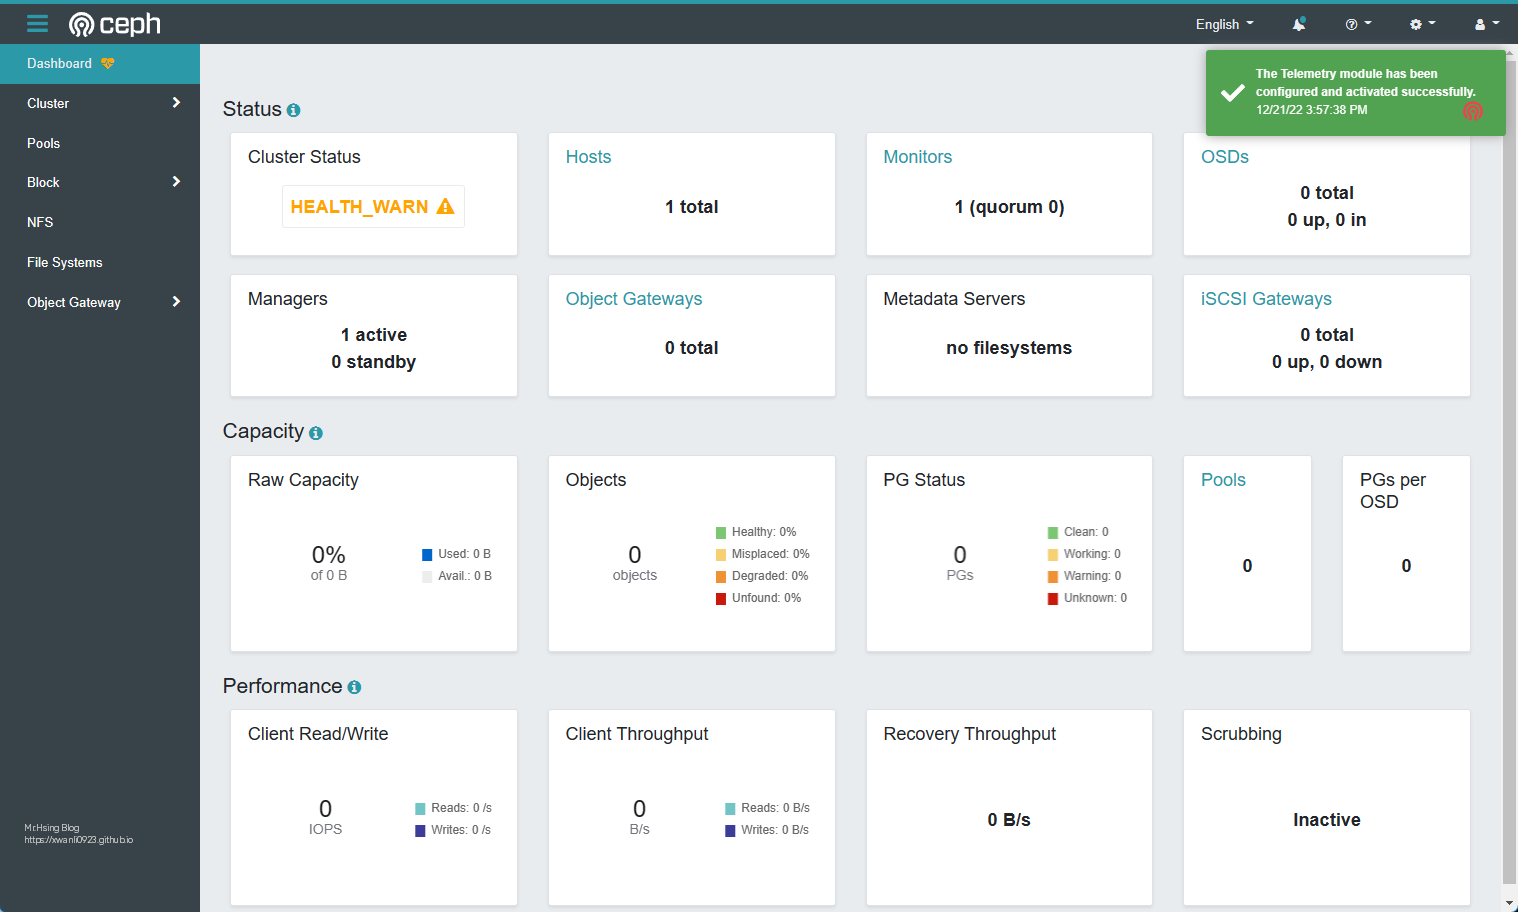
$ cephadm shell -- ceph -s Inferring fsid 5851a2e4-80f0-11ed-9d85-000c291c7df8 Inferring config /var/lib/ceph/5851a2e4-80f0-11ed-9d85-000c291c7df8/mon.ceph-serverc.lab.example.net/config Using ceph image with id 'cc65afd6173a' and tag 'v17' created on 2022-10-17 23:41:41 +0000 UTC quay.io/ceph/ceph@sha256:0560b16bec6e84345f29fb6693cd2430884e6efff16a95d5bdd0bb06d7661c45 cluster: id: 5851a2e4-80f0-11ed-9d85-000c291c7df8 health: HEALTH_WARN OSD count 0 < osd_pool_default_size 3 services: mon: 1 daemons, quorum ceph-serverc.lab.example.net (age 3m) mgr: ceph-serverc.lab.example.net.erqjrd(active, since 2m) osd: 0 osds: 0 up, 0 in data: pools: 0 pools, 0 pgs objects: 0 objects, 0 B usage: 0 B used, 0 B / 0 B avail pgs: - 访问其
dashboard-
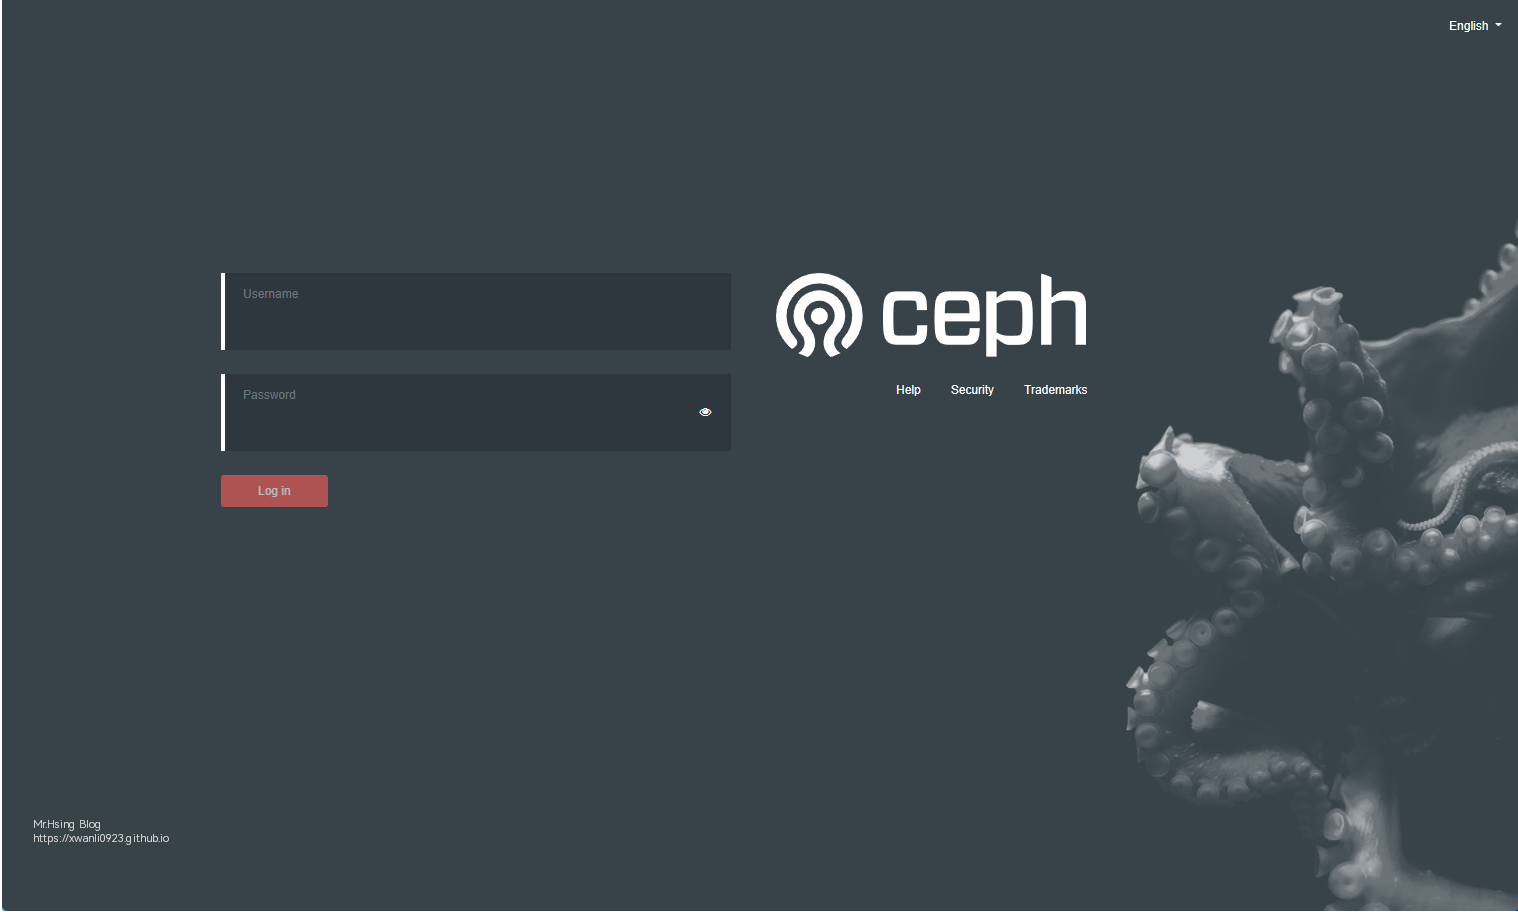
在浏览器输入 https://ceph-serverc.lab.example.net:8443 或 https://172.16.80.104:8443,弹出的证书警告同意即可

-
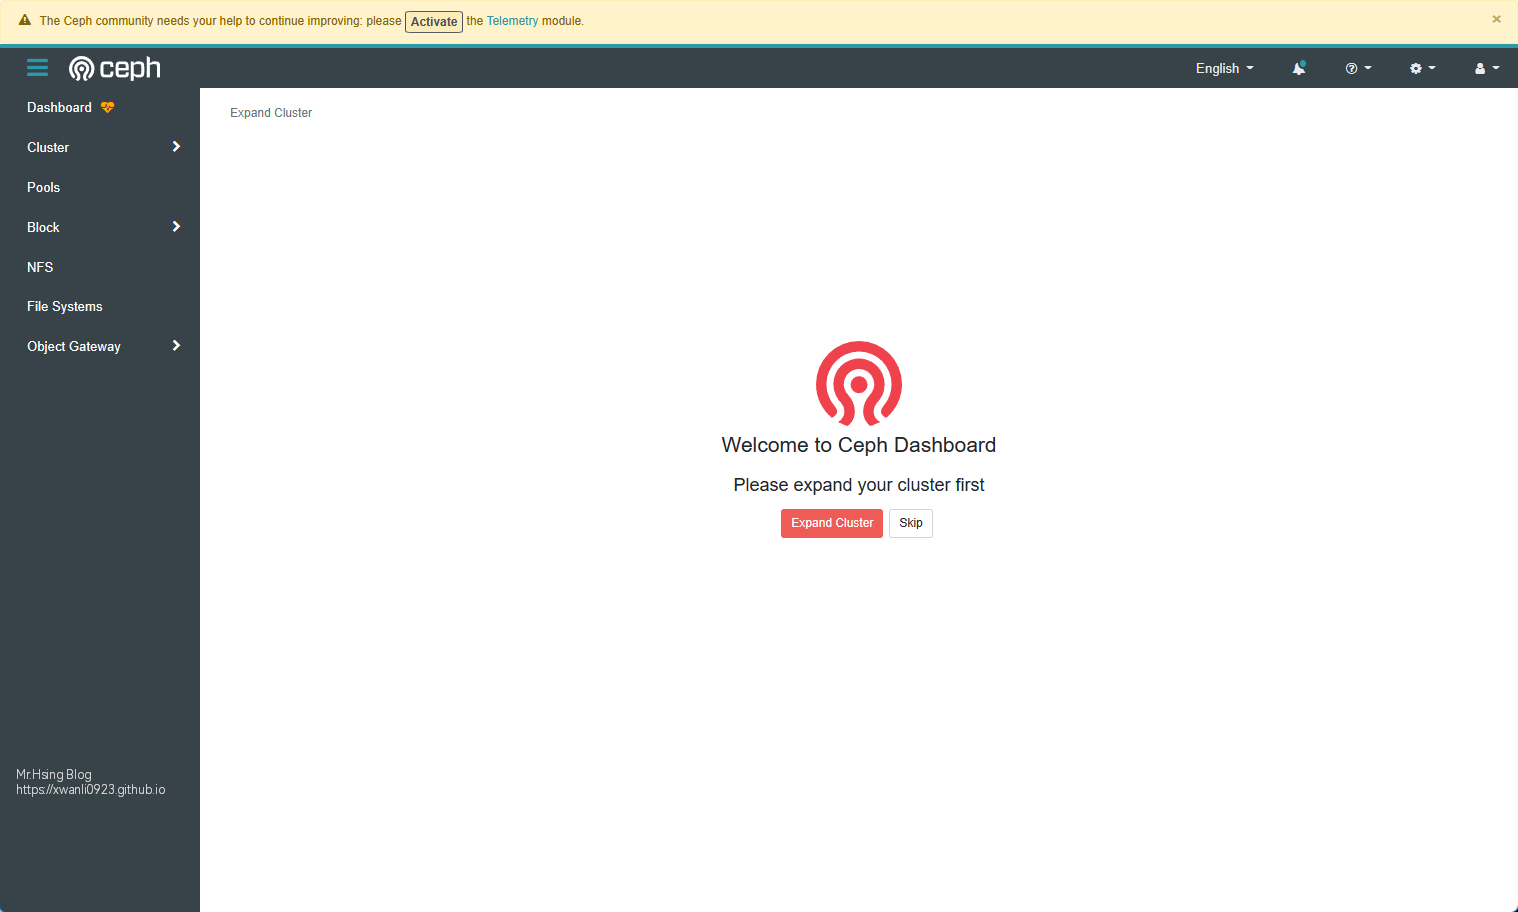
输入账户
admin和设置的密码,将会看到概览界面

-
增加主机和设备
- 安装集群公共SSH公钥
$ ceph cephadm get-pub-key > /root/ceph-cluster/ceph-cluster.pub $ for HOSTS in ceph-{clienta,clientb,serverc,serverd,servere}; \ do ssh-copy-id -f -i /root/ceph-cluster/ceph-cluster.pub root@${HOSTS}; \ done - 添加新的主机到集群
$ ceph orch host add ceph-clienta.lab.example.net Added host 'ceph-clienta.lab.example.net' with addr '172.16.80.102' $ ceph orch host add ceph-serverc.lab.example.net Added host 'ceph-serverc.lab.example.net' with addr '172.16.80.104' $ ceph orch host add ceph-serverd.lab.example.net Added host 'ceph-serverd.lab.example.net' with addr '172.16.80.105' $ ceph orch host add ceph-servere.lab.example.net Added host 'ceph-servere.lab.example.net' with addr '172.16.80.106' - 增加新的 OSD
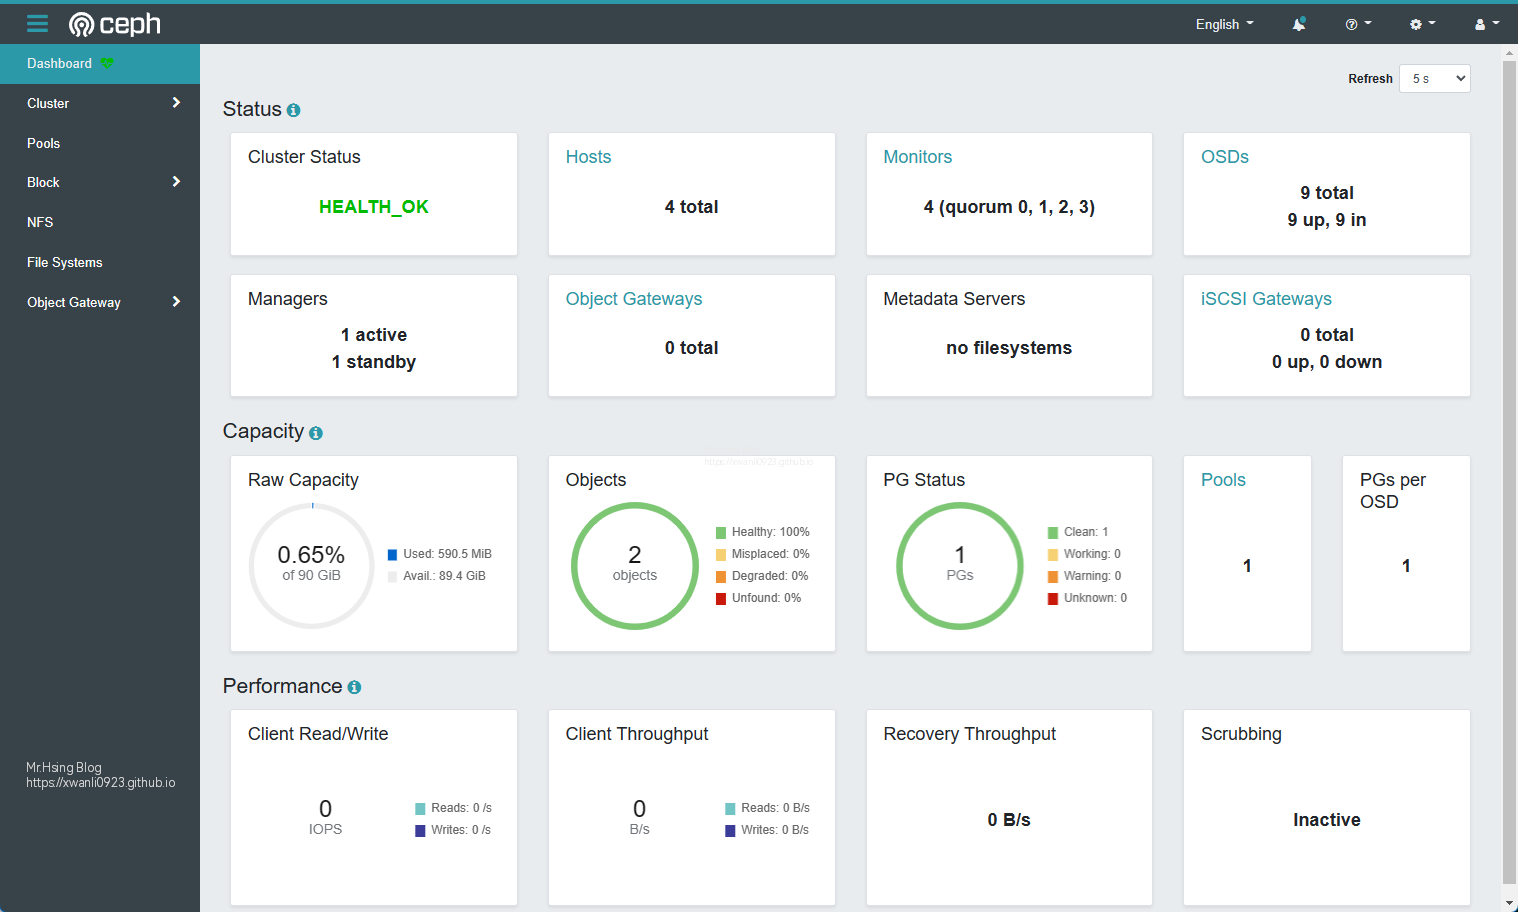
$ ceph orch daemon add osd ceph-serverc.lab.example.net:/dev/sdb Created osd(s) 0 on host 'ceph-serverc.lab.example.net' $ ceph orch daemon add osd ceph-serverc.lab.example.net:/dev/sdc Created osd(s) 1 on host 'ceph-serverc.lab.example.net' $ ceph orch daemon add osd ceph-serverc.lab.example.net:/dev/sdd Created osd(s) 2 on host 'ceph-serverc.lab.example.net' $ ceph orch daemon add osd ceph-serverd.lab.example.net:/dev/sdb Created osd(s) 3 on host 'ceph-serverd.lab.example.net' $ ceph orch daemon add osd ceph-serverd.lab.example.net:/dev/sdc Created osd(s) 4 on host 'ceph-serverd.lab.example.net' $ ceph orch daemon add osd ceph-serverd.lab.example.net:/dev/sdd Created osd(s) 5 on host 'ceph-serverd.lab.example.net' $ ceph orch daemon add osd ceph-servere.lab.example.net:/dev/sdb Created osd(s) 6 on host 'ceph-servere.lab.example.net' $ ceph orch daemon add osd ceph-servere.lab.example.net:/dev/sdc Created osd(s) 7 on host 'ceph-servere.lab.example.net' $ ceph orch daemon add osd ceph-servere.lab.example.net:/dev/sdd Created osd(s) 8 on host 'ceph-servere.lab.example.net' - 最终的 ceph 集群状态
cephadm shell
Inferring fsid 5851a2e4-80f0-11ed-9d85-000c291c7df8
Inferring config /var/lib/ceph/5851a2e4-80f0-11ed-9d85-000c291c7df8/mon.ceph-serverc.lab.example.net/config
Using ceph image with id 'cc65afd6173a' and tag 'v17' created on 2022-10-17 23:41:41 +0000 UTC
quay.io/ceph/ceph@sha256:0560b16bec6e84345f29fb6693cd2430884e6efff16a95d5bdd0bb06d7661c45
[ceph: root@ceph-serverc /]# ceph -s
  cluster:
    id:     5851a2e4-80f0-11ed-9d85-000c291c7df8
    health: HEALTH_OK

  services:
    mon: 4 daemons, quorum ceph-serverc.lab.example.net,ceph-clienta,ceph-serverd,ceph-servere (age 6m)
    mgr: ceph-serverc.lab.example.net.erqjrd(active, since 25m), standbys: ceph-clienta.kbhjvx
    osd: 9 osds: 9 up (since 110s), 9 in (since 2m)

  data:
    pools:   1 pools, 1 pgs
    objects: 2 objects, 577 KiB
    usage:   591 MiB used, 89 GiB / 90 GiB avail
    pgs:     1 active+clean
参考文档:
ceph-container: https://github.com/ceph/ceph-container
Ceph Document: cephadm-adding-hosts